Skill Level:
Crafting Time:
Material(s):
Category:
Fun Gift Tags That Won't Ruin Your Gift Bags
Tag(s):
Share This Craft
Search Crafts
Fun Gift Tags That Won't Ruin Your Gift Bags
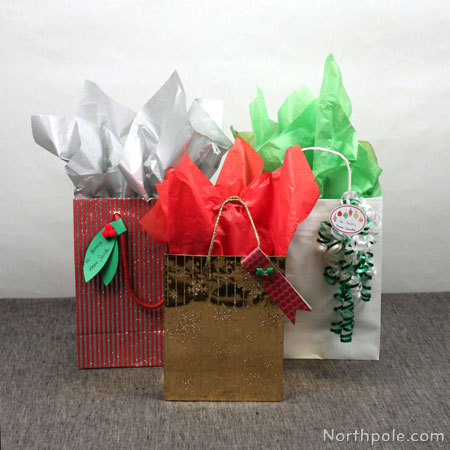
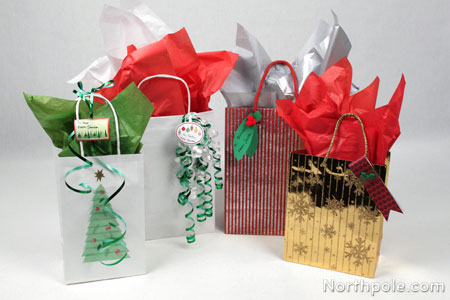
So you have some beautiful gift bags, and you don’t want to ruin the bag with a gift tag sticker. Oh, no, no, no. How could anyone reuse the bag if there’s a half-peeled sticker on it? *Gasp* The horror!
In all seriousness, there are times when a bag is special—be it the glitter, the metallic shine, or perhaps a special design. An ordinary To/From sticker just won’t do, so how do you label the gift? In this article we’ll show you how to make a couple different tags that won’t ruin your bags. Plus, if you want to use store-bought sticker labels, you’ll find out how to not stick it on the bag.
Supplies & Tools:
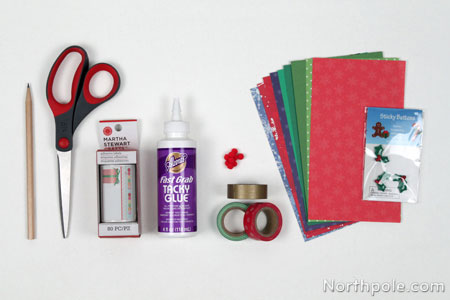
- Printable template (download here)
- Double-sided scrapbook paper or construction paper
- Scissors
- Washi tape
- Mini pompoms
- Glue: Aleene’s Fast Grab or hot glue
- Embellishments: sticky buttons, rhinestones, etc.
- Gift tag stickers
Holly Leaf Tag:
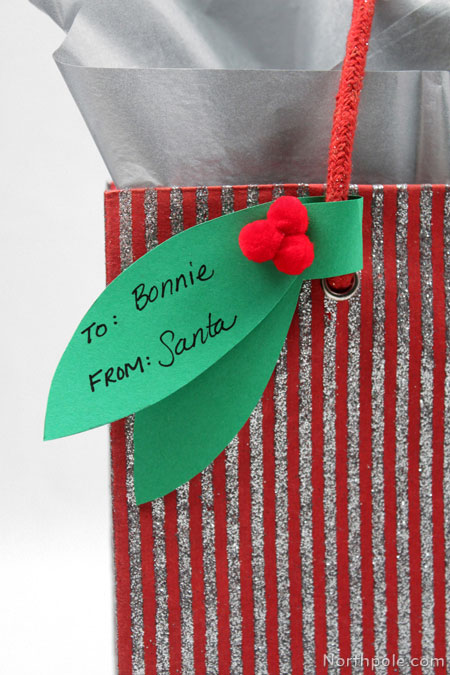
Directions:
- Print the template and cut out leaf pattern.
- Trace onto desired paper and cut out. Be sure to cut the slits, too.
- Using the template as reference, glue pompoms (over the 3 dots), and write the To/From names. Be careful not to glue over the slit! Aleene’s glue works here, but hot glue is much faster.
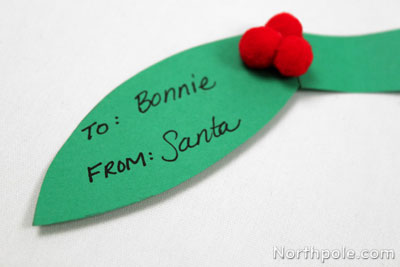
- Wrap around bag handle and interlock the leaves.
- Now your leaf tag is complete.
Paper Flag:
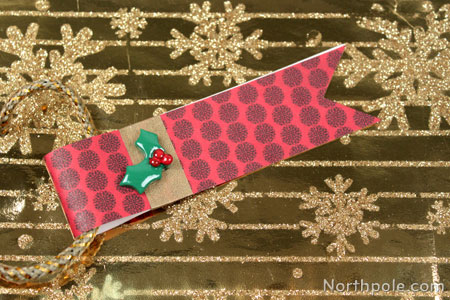
Directions:
- Print the template and cut out the flag pattern.
- Trace onto desired paper and cut out. (Alternatively, you can cut strips of paper that are 1" x 9", and then cut the ends into a “v” shape.)
- Cut a piece of washi tape that is about 2.5" long. Stick it on the edge of your work surface (or some other object) so that it is handy for the next step.
- Bring the “v” ends together—do not fold it, because you don’t want a crease. Make a note or draw a small mark where you want the washi tape to be. With the tag lying on the mat, place the tape on the tag. (You could add embellishments now or wait until step 6.)
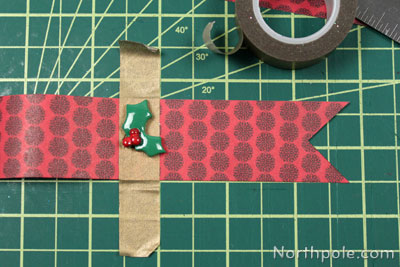
- Loosely wrap the flag around the handle of the gift bag (you don’t want to make crease), and then wrap the washi tape around the flag.
- Add any embellishments such as sticky buttons, gems, etc.
- Write in the To/From information on one end of the flag. (If you are using dark paper, you can write “To" and "From” on the inside.)
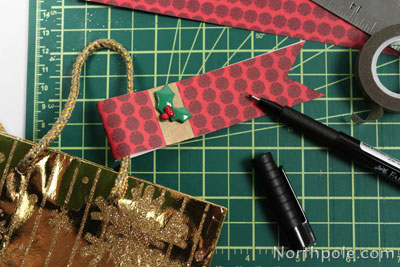
- Now your paper flag tag is done.
Sticky Label Tips
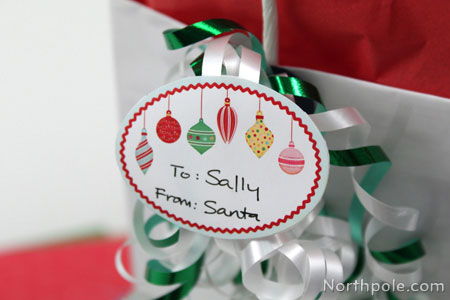
Directions:
- Take any sticker label and carefully cut the backing around the sticker.
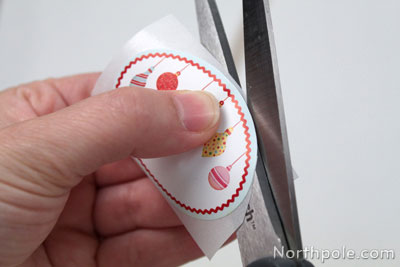
- Tie a simple bow on the gift bag handles, or attach curly ribbon.
- Peel the sticker backing halfway. (Only halfway!)
- Slide a strand of ribbon in between the sticker and the backing, and then press the backing onto the sticker.
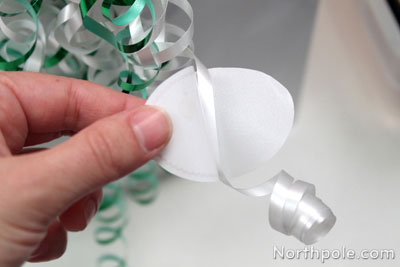
- Voilá! Your gift bag is ready to be used. The label can be removed easily, so those beautiful bags can be used again and again.
Idea from the Elves:
- Tie a simple bow with ribbon and attach a sticky label.
