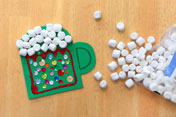
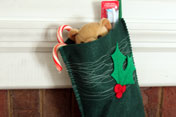
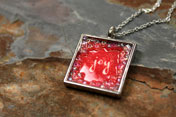
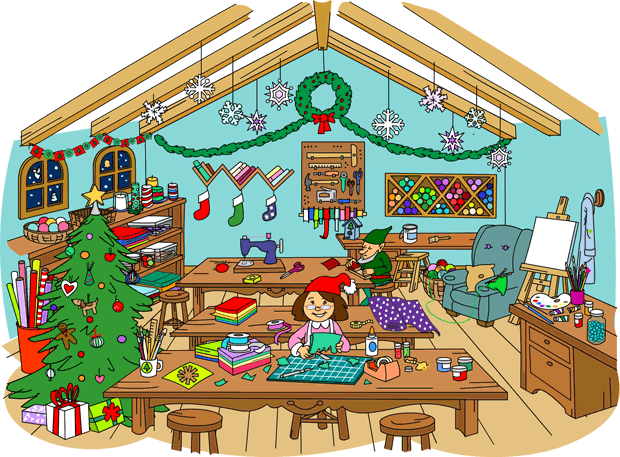
Delightfully simple, these pieces of wood are a nice addition to your party’s decor. Use them to hold place cards, food labels, photos, whatever you can think of! I collected my branches from a neighbor who had recently pruned a tree.
Labels add a nice finishing touch to your holiday spread and are a great way to tie all your decor together. It is increasingly common to see labels on prepared foods if they contain allergens. Due to the dietary concerns of my guests, I created icons to indicate whether a dish was vegetarian, contained halal meat, or contained nuts. Other useful labels might include Kosher, dairy, shellfish, etc.
I absolutely adore these. No, really, I do love them. LOVE! These would be great as a gift. You could make one or more of these cuties to accompany a storybook (great for kids!). Then you can turn story time at school or at home into an interactive play time. These can even be used to give gifts to friends or coworkers—slip one of these over a pen or a utensil, or a chocolate dipped spoon, perhaps. Pair it with cocoa mix (homemade or single-serve packets) and pretty mug, and you’ve made a memorable, edible, and lasting gift.
I love these flowers! These delicate flowers get their shape from sealing the edges with a flame. I used a polyester beige-yellow satin and a white lining material for the petals, but you could try another type of synthetic material. (NOTE: Natural fibers will not melt the same as synthetic materials. In fact, they will burn.) Purchasing new fabric for crafts can become pretty pricey, so here are some tips so you don’t break the bank: sift through the remnants bin at your craft store; look around your home for garments you no longer wear; or shop at a local thrift store.
These flowers are so versatile. These can be used to make flower garlands, table confetti, a brooch, a headband, pins, you name it! Try different techniques to make different types of flowers.
You can create many different gifts with just a few colors of paint and stencils. Turn jars into candle holders (oh yeah, bring on the thriftiness!) or you can buy candle holders. The dollar store always has several different types of glassware suitable for candles and other gifts. When shopping in-store, it gets harder to find the popular stuff the closer it gets to Christmas, so shop early! If you are planning on getting lots of glassware, you can even order in bulk online at DollarTree.com and pick it up in the store. (Free shipping!) It’s a huge time saver—no more store hopping trying to find all the items you need, and you don’t have to wait for the cashier to wrap all the items at the register.
Iron-on appliqués are so easy and versatile! In this tutorial, I am ironing one onto a bread basket liner. You can purchase a liner (or a thin towel) from the store and quickly iron your hand-made appliqué. You can also personalize napkins, T-shirts, aprons—you name it! With fusible webbing, you can easily make decorative home goods (pillow covers, table runners, etc.) to match your color scheme.
There are so many ways to decorate and personalize napkins. Iron on a hand-made appliqué, embroider, cross stitch, stamping, or stenciling. I enjoy stamping because it’s a simple and fast way to personalize objects. Try stamping or stenciling cards, coasters, table linens, table runners, shirts, or anything you like. Personalized napkins are a great gift idea!
When working with stencils, it’s best to have a brush specifically for stencils, since you need to apply paint using the stippling technique. When using a stencil brush, you can create texture or a gradient within the design. When using a foam brush with stencils, you will get flat, solid coverage. With foam stamps, a foam brush or paintbrush is sufficient.
amanda stott on Raymond’s Sporty Dream