Skill Level:
Crafting Time:
Technique(s):
Material(s):
Category:
Tag(s):
Share This Craft
Search Crafts
Shiny Snowflake Earrings
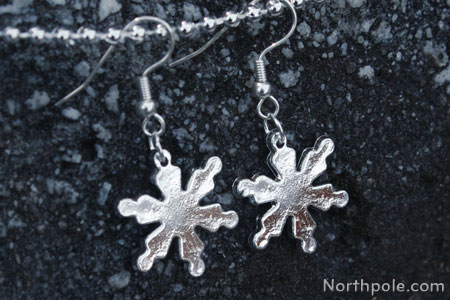
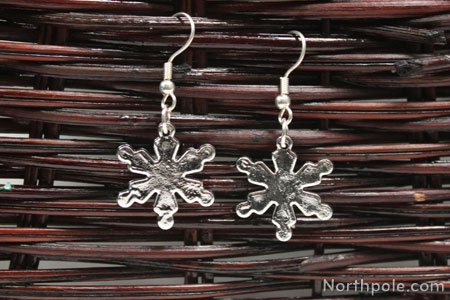
These little earrings are made from an unexpected material… table confetti! It’s surprising, but true. The snowflakes in this bag of confetti are plastic, not paper, as you might first assume. We used an X-Acto to “drill” a hole in the snowflakes, but you could use a real drill if you feel comfortable enough to use it.
These earrings are quick and easy, so they would make a great last minute gift for any of the ladies still on your shopping list.
Supplies & Tools:
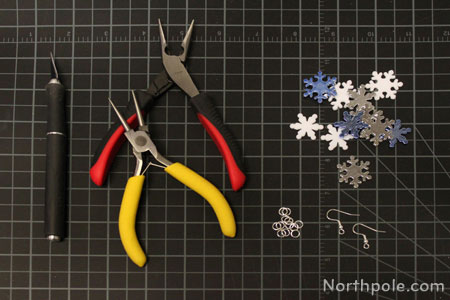
- Plastic table confetti
- Cutting mat
- X-Acto
- Jump rings
- Jewelry pliers, 2 pairs*
- Earring hooks
*You’ll need jewelry pliers to open and close the jump rings. Two pairs of flat nose pliers are preferable, but we used round nose pliers and flat nose pliers.
Directions:
- Lay a confetti snowflake on a cutting mat.
- Using your X-Acto, very carefully drill a hole into the tip of the snowflake.
- Place the tip of the blade in the spot where you want to make the hole.
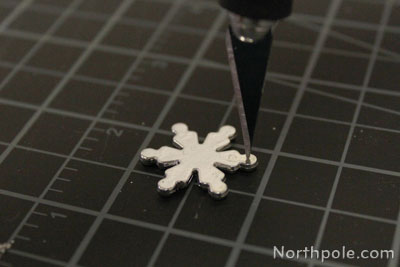
- Hold the knife straight up, and begin spinning the blade in place. At first, spin the knife only about 90 degrees until you've cut into the surface. Then continue drilling the hole by spinning the knife 360 degrees.
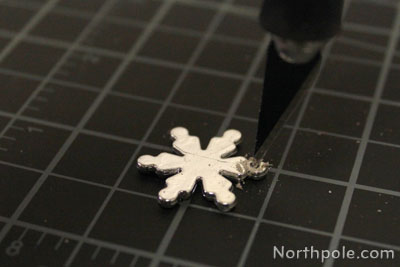
- You may need to blow away the dust every now and then to make sure your hole is round and that the hole is not getting too close to the edge.
- Once there’s a decent sized hole and the tip of the blade has broken through the other side, flip the snowflake over and enlarge the hole.
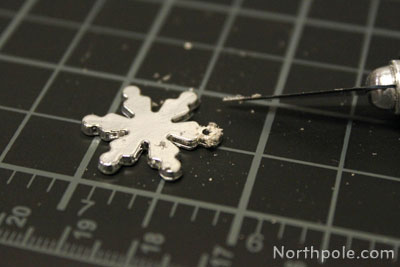
- See what a nice, clean hole you’ve made?
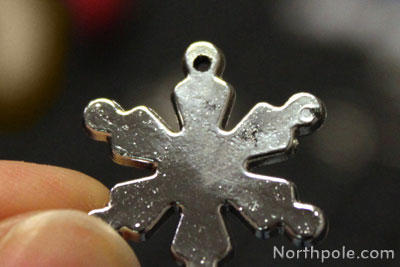
- Place the tip of the blade in the spot where you want to make the hole.
- Take the pliers, one pair in each hand, and use the pliers to open a jump ring.
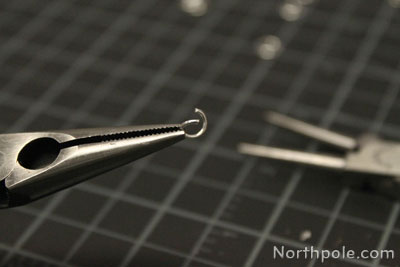
- Slide the jump ring through the hole of the snowflake. Add the earring hook.
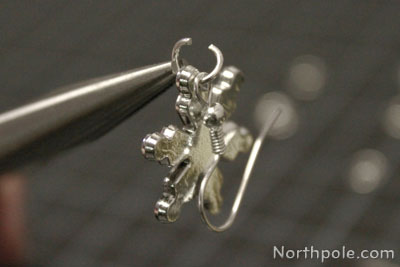
- Use pliers to close the jump ring.
- Repeat steps 1–6 to make other earring.
- Your earrings are ready to wear!
