Skill Level:
Crafting Time:
Technique(s):
Material(s):
Category:
Share This Craft
Search Crafts
Rolled Paper Tree Card

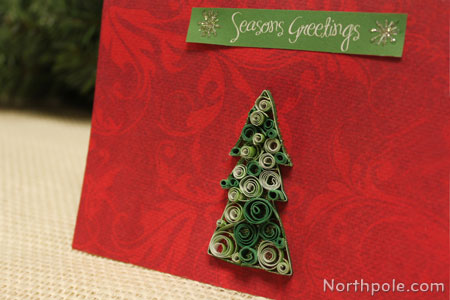
Add dimension to your holiday cards with curly paper coils shaped into a Christmas tree. This technique of rolling and shaping thin paper strips is called “quilling.” If you are new to quilling, check out this Quilling 101 article to get started.
Supplies & Tools:

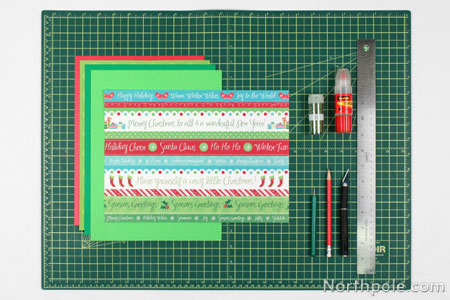
- 1 sheet red cardstock
- 2–3 sheets paper, different shades of green
- 1 piece paper with Christmas words (scrapbook paper)
- Glue with a fine tip applicator
- X-Acto
- Metal ruler
- Cutting mat
- Quilling tool*
- Pencil
- Very fine green glitter
*If you don’t have a quilling tool, you can use a round toothpick to roll your coils.
Directions:
- From the cardstock, cut out a piece that is 6" x 8".
- Fold in half to make a card that is 6" x 4". Set aside.
- Place cutting mat on a flat surface.
- Using your X-Acto and metal ruler, cut a couple strips from each sheet of green paper. The strips should be about 1/8" to 1/4" wide. It is okay to have different widths of paper strips because this can make the card look more interesting once finished.
Note: You can find pre-cut paper strips for quilling at the craft store. - Take one strip and fold it to make an outline of a tree. Glue ends together.
- Place the tree on the card and then lightly draw an outline around the tree.
- Using the pencil outline as a guide, apply a thin line of glue over the pencil line.
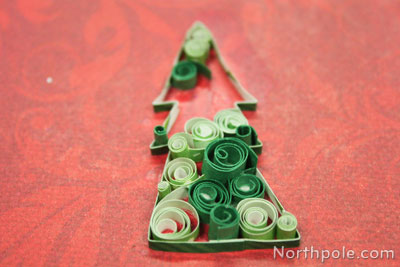
- Place the tree outline on the glue, and let dry.
- In the meantime, begin rolling the remaining strips of green paper using the quilling tool. (New to quilling? Read this Quilling 101 article.) To vary the size of your coils, you can tear the paper strips into different lengths. Continue rolling the paper strips until there are enough coils to fill the tree, cutting additional strips of paper, if necessary.
- Begin filling the tree by putting a dab of glue in the tree and adding the coils. It is best to work in small sections until the tree is full.

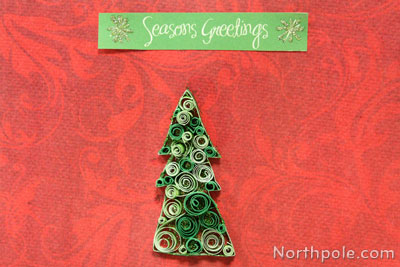
- While the glue is still wet, sprinkle some glitter over the tree and return excess glitter to container.
- Cut a phrase from the Christmas paper. Glue on card and let dry.

- Write a message inside, and now your Christmas card is complete.

Elfy Hint:
- Typically, a 6" x 4" card would fit in an A4 envelope, but because of the raised design, you may want to put this card into a larger envelope like these at envelopes.com.


