Skill Level:
Crafting Time:
Technique(s):
Material(s):
Category:
Tag(s):
Share This Craft
Search Crafts
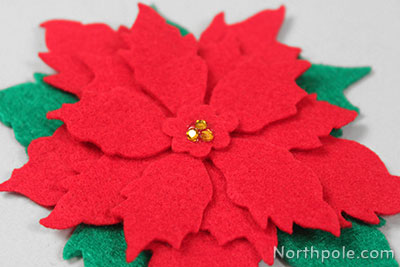
Felt Poinsettia Hair Clip

Whether you are creating an accessory for yourself or making gifts for your friends, sisters, or nieces, this poinsettia hair clip is a festive accessory for the holiday season. It’s so easy to make, you’ll have a dozen of these done in no time! Go for a classic look with red and green felt or choose any color combo to suit your taste. (For less traditional color inspiration, scroll to the bottom of this article.)
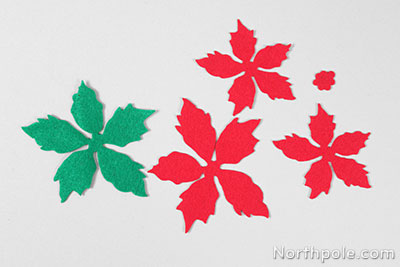
Before we begin, note that the die cuts 3 different sizes of flowers. We’ll use the smaller flowers to make the hair clip, but don’t worry, we won’t let the extras go to waste. We’ll show you how to turn the leftover large flowers into a coordinating holiday brooch. Ready to get started?
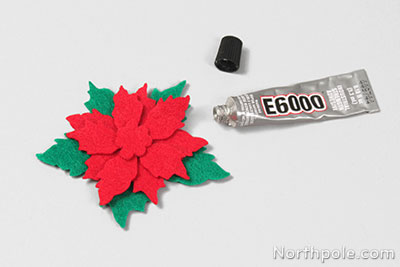
Supplies & Tools:

- Sizzix® Big Shot Plus Machine & included Cutting Pads*
- Sizzix Bigz Die – Tattered Poinsettia
- Felt: red, green
- 3mm gold rhinestones
- E6000 glue
- 2" snap clips
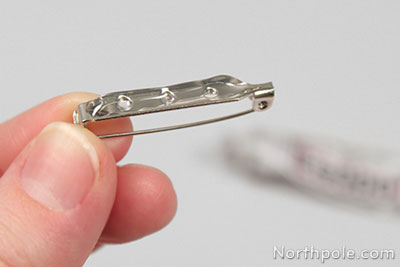
- 1.25" bar pins**
- Scissors
- Toothpicks
*We used the Big Shot Plus machine, however, you can use the regular Big Shot machine to accomplish this craft.
**The bar pins are only needed if you want to make the coordinating brooch.
Directions:
- Cut 2 pieces of red felt and 1 piece of green felt that cover the surface of the die.
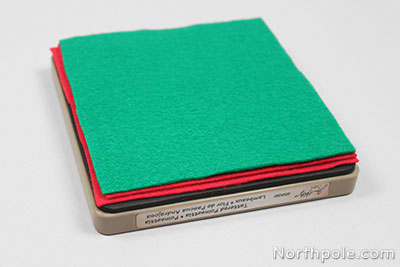
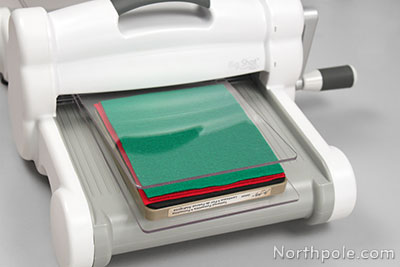
- Place the three pieces of felt on the die, then put everything between 2 cutting pads. Roll the “sandwich” through the Sizzix machine to die-cut the felt.
- Separate the die-cut poinsettias from the scraps. Lay the felt scraps aside.
Note: Once in a while, the die may not completely cut the felt in some spots. No biggie! Simply snip the fuzzy bits with your scissors.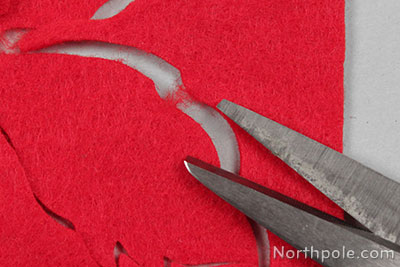
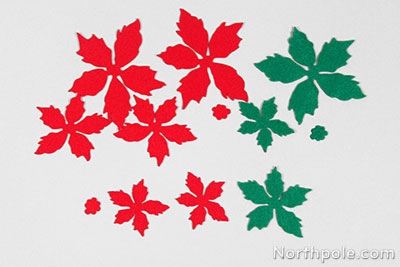
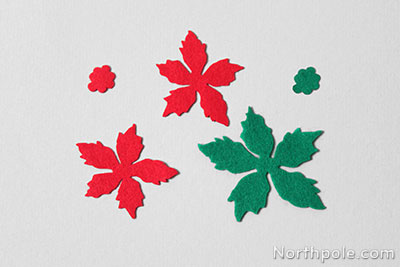
- Now take 2 small red poinsettias, 1 medium green poinsettia, a red “cloud,” and a green “cloud.” Set the other cutouts aside. (Wondering what to do with all those extra flowers? Keep reading until the end, and we’ll show you how to use them in a bonus craft!)
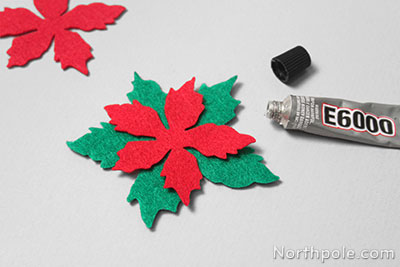
- Stack the green and red poinsettias together, adding glue between each piece.
- Put a small dab of glue in the center of the green poinsettia, then lay one red poinsettia on top, gently pressing into place.
- Add a little glue in the center of the red poinsettia and press the other red poinsettia in place.
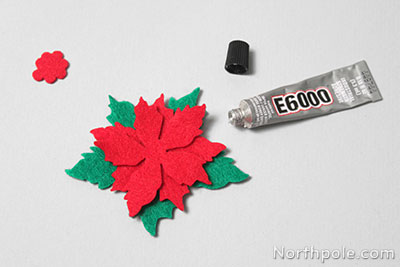
- Next add the little red “cloud.”
- Put a small dab of glue in the center of the green poinsettia, then lay one red poinsettia on top, gently pressing into place.
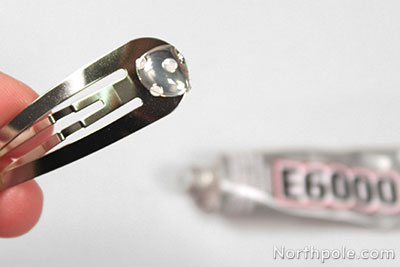
- Add rhinestones to the center of the flower. The rhinestones can be tricky to glue in place, so here’s how we did it:
- Get a little bit of glue on the tip of a toothpick.
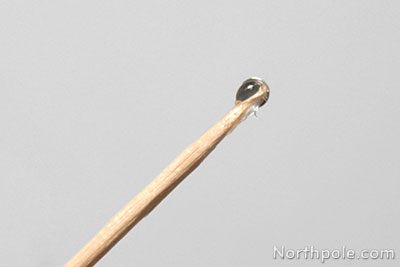
- Pick up a rhinestone with the gluey tip of the toothpick.

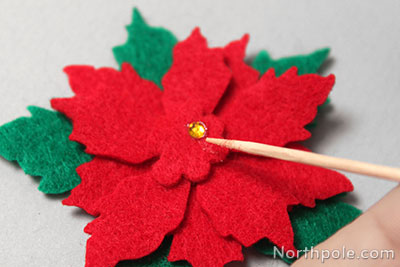
- Place the toothpick/rhinestone on the felt (rhinestone facing up) and—pressing the toothpick down—roll it between your fingers while keeping the tip in place, then gently slide the toothpick out from under the rhinestone. (Since the rhinestones are so small, it can be a challenge to get the rhinestone to stick onto the felt. This little maneuver helps!)
- Take the clean end of the toothpick and press the rhinestone down securely onto the glue.
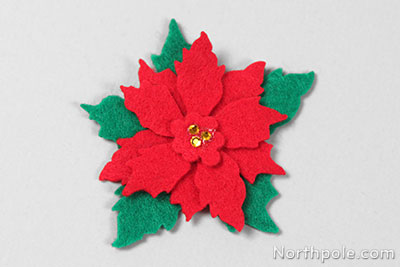
- Add as many rhinestones as you want, then allow the glue to dry.
- Get a little bit of glue on the tip of a toothpick.
- To attach the hair clip, place flower upside down on your work surface.
- Put a pea-sized amount of glue on the end of the hair clip.
- Press the hair clip onto the poinsettia, glue side down. Notice that glue will ooze through the holes in the clip.
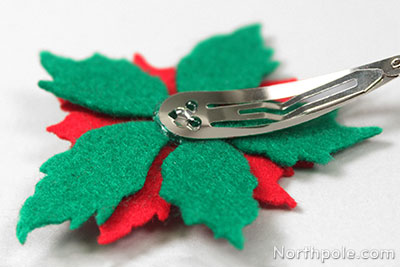
- Immediately press the green “cloud” shape down over the gluey holes.
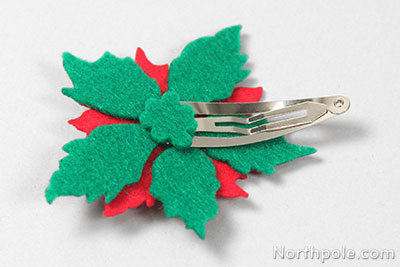
- Once the glue has completely dried, your hair clip is ready to wear!

Coordinating Holiday Brooch
After making the hair pin, you’ll have several poinsettia shapes remaining, and we certainly don’t want those pretty posies going to waste! Let’s make a brooch with the large, leftover die-cut pieces.
- Gather the following poinsettias: 1 large green, 1 large red, 2 medium red, and 1 red “cloud.”
- Stack the flowers and glue them together, putting a small dab of glue between each layer.

- Glue the “cloud” in the middle and add rhinestones (as desired).
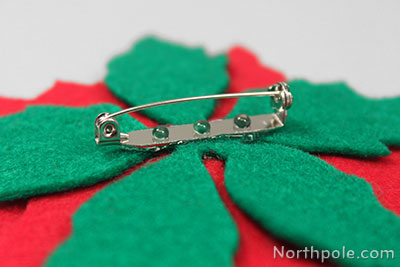
- After all glue has dried, turn the flower upside down. Add a line of glue to the back of a bar pin, then press it onto the back of the flower. Don’t worry about the globs of glue that ooze through the holes; the glue flattens out as it dries, so the brooch will still look professional when it’s all said and done.
- Allow the glue to completely dry, then your poinsettia brooch is ready to wear!

Idea from the Elves:
- Experiment and make flowers in different colors.