


Skill Level:
Crafting Time:
Category:
Share This Craft
Search Crafts
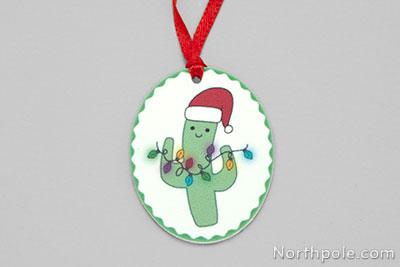
Jolly Cactus Pendant

Are you planning a Christmas in July party? Do you like festive southwestern decorations? If you answered yes to either question, then this cute cactus pendant is for you! This craft is a fun, easy, and stress-free activity for crafters of any skill level.
Our favorite part of this craft is watching the pendants bake—it’s so mesmerizing to watch them curl, shrink, and finally flatten. Share this intriguing experience with your friends and party guests with a “make-and-take” table. Set out the printed templates, scissors, a hole punch, and ribbon. Use a toaster oven to bake the pendants—it’s portable, so you can put it where it’s convenient. Plus, since a toaster oven is small, it won’t heat the whole house in the middle of summer. Your friends will have a blast making these the pendants, and once they are done, everyone can wear their cactus necklaces. This craft is an enjoyable activity and party favor all rolled into one!
Supplies & Tools:

- Printable template (download here)
- Grafix Inkjet Shrink Film – White*
- Inkjet printer
- 1/4" hole punch
- Scissors
- Parchment paper
- Oven
- 1/8" wide ribbon or bakers twine
- Optional: clear spray paint or Dimensional Magic™
*We tried a couple brands of shrink film for this project and found that Grafix Printable Shrink Film works best. We do NOT recommend any other brand of printable shrink film because in our tests, the pendant became distorted during the baking process when we used brands besides Grafix.
Directions:
- Open the printable template. (Click here to download.)
- Print the template on Grafix shrink film using an inkjet printer.
Note: Make sure to select the Photo Paper option from your Print dialog box.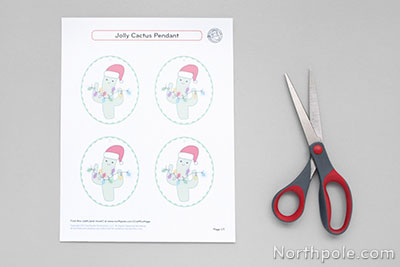
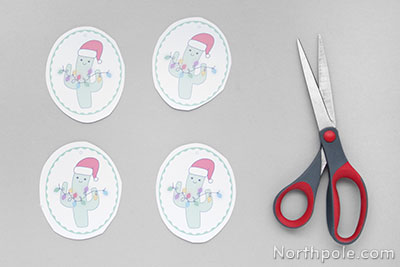
- Cut out the pendants with your scissors, making sure to leave white space around each oval. The extra white space around the ovals helps prevent the film from tearing as you punch holes in the next step.
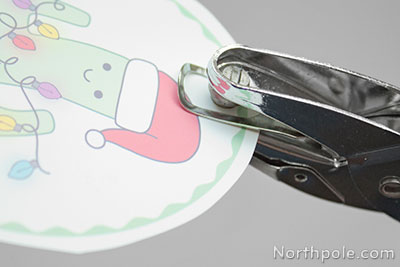
- Using your 1/4" hole punch, cut a hole near the top of the oval (denoted by the gray circle above the hat).
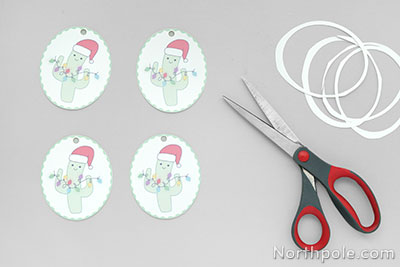
- Cut off the remaining white film outside the green border. Repeat for each pendant.
- Line a baking sheet with parchment paper. Place the pendants on the baking sheet and bake per the manufacturer’s directions. When the film has stopped shrinking and is flat, it’s time to remove it from the oven.
Note: Sometimes the pendants aren’t completely flat when they come out of the oven, so keep a glass with a flat bottom nearby. When you remove the pan from the oven, transfer the pendants to the countertop (parchment paper and all) and flatten with the glass.
- Optional: Give your pendants a glossy finish and spray with clear spray paint or coat with Dimensional Magic. Allow to completely dry.
- Attach the ribbon:
- Cut a length of ribbon that is 24" long (about arm’s length).
- Fold ribbon in half, creating a loop at the midway point.
- Poke the loop through hole from front to back.
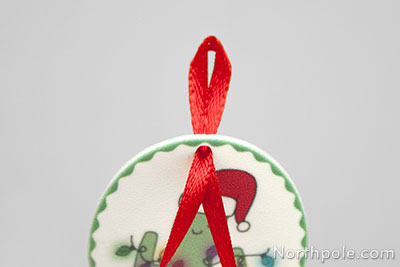
- Pull tails through the ribbon loop, then pull until the ribbon is snug around the pendant’s hole.
- Tie the ends of ribbon in a knot, and your necklace is ready to wear!

Ideas from the Elves:
- If necklaces aren’t really your thing, simply shorten the ribbon and add it to your keychain instead. Since a keychain gets handled a lot more than a necklace would, we highly recommend sealing the pendant, as directed in step 7 above.
- Turn this necklace into an ornament or gift wrap embellishment by using a shorter piece of ribbon.
- If you’re making these pendants at a Christmas in July party, incorporate cacti into your decor and food. For decorations, you could adorn small cacti with tinsel or Santa hats. For a treat, you could make cactus-shaped sugar cookies and use icing to add Christmas lights.


