Skill Level:
Crafting Time:
Technique(s):
Material(s):
Category:
Tag(s):
Share This Craft
Search Crafts
Merry Front Door Card
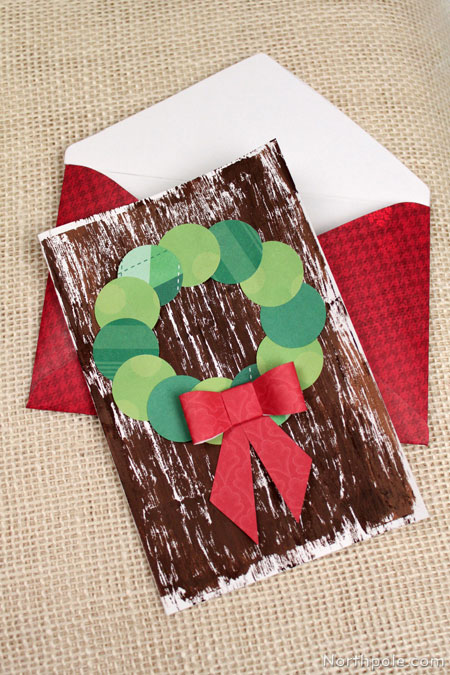
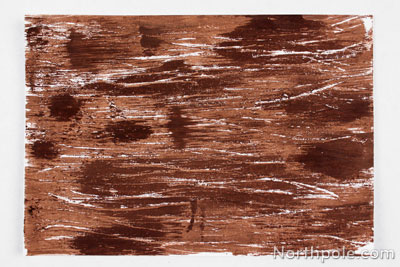
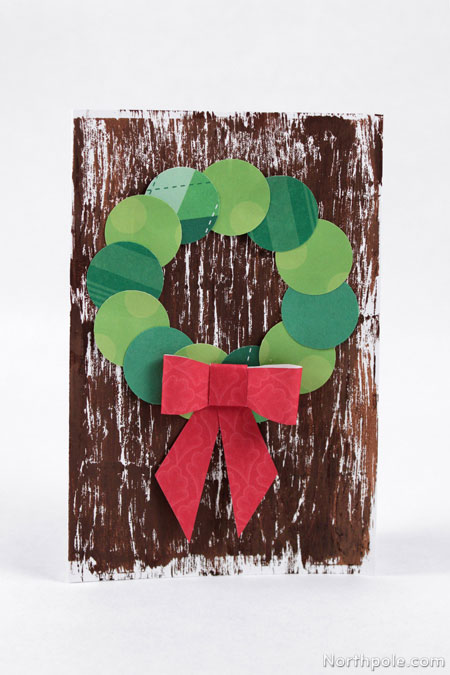
Send Christmas greetings with this sweet wreath card! To make your wreath look like it’s hanging on a door, give the card a wood grain effect. You can accomplish this by creating a simple stamp with a foam take-out box. If you don’t want to whip out your paints for this card, you may be able to find wood grain cardstock at your local craft store.
Supplies & Tools:
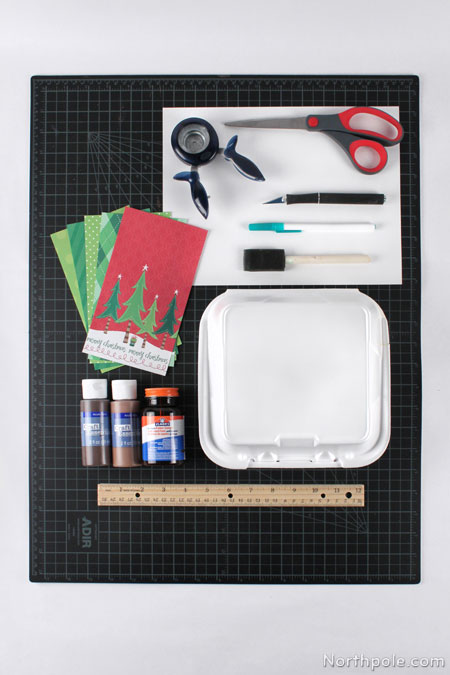
- Clean foam – from a veggie tray, egg carton, or take-out box
- Ballpoint pen
- Scrapbook paper: red, assorted greens
- Cardstock
- Medium circle punch (1 inch)
- Scissors
- Ruler
- X-Acto
- Cutting mat
- Glue
- Brown paint
- Foam brush (or a brayer)
Directions:
- To make the stamp for the background, take the foam tray (or whatever you have) and place it on the cutting mat.
- Cut the edges off so that you have a nice flat piece.
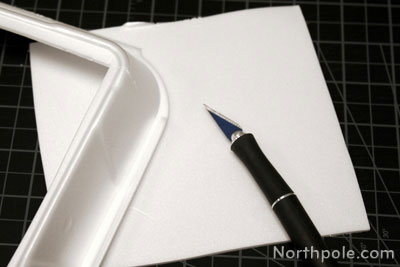
- Depending on the size of your piece of foam, you may need to cut it so that it’s roughly the same size as your card (about 4" x 6"). Is your foam smaller than 4" x 6"? See the hint below.
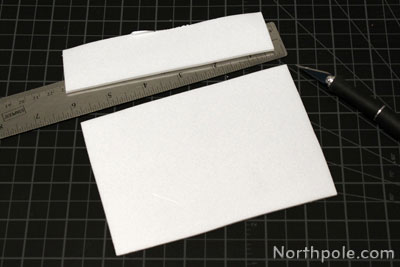
- Use a ballpoint pen to draw an abstract, wood grain pattern. Set pen and foam aside.
Note: We find that a ballpoint pen works best, but you could also use a stylus. We found that a pencil tends to tear the foam instead of making a nice, clean impression.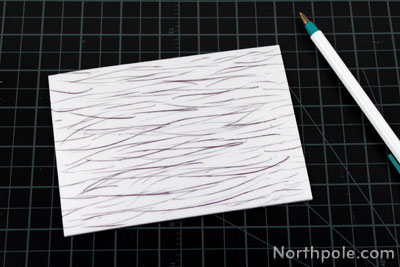
- Take the cardstock and cut to 8" x 6". Fold in half to make a 4" x 6" card.
- Apply a light coat of paint to the foam stamp. A brayer would be ideal for this, but a foam brush works well, too. Don’t use too much paint, or the print will look gloopy.
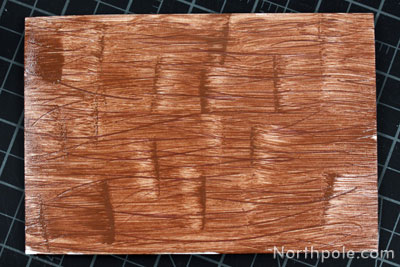
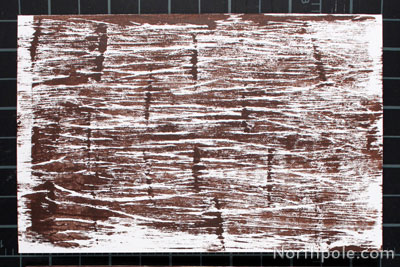
- Firmly press paper onto the stamp and carefully peel paper off the stamp. Set paper aside and wash off the stamp and brush. If the print is too light, simply stamp it again!
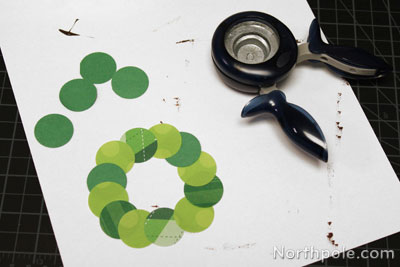
- Use the medium circle punch to cut out twelve 1" circles from green paper.
- Glue circles together to form the wreath. Set wreath aside.
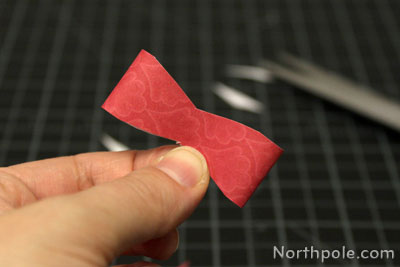
- Cut a strip of red paper that measures about 0.75" x 4.5". Overlap the ends, making a loop, and glue the ends together.
- Pinch the loop in the center and cut into the loop as shown below:
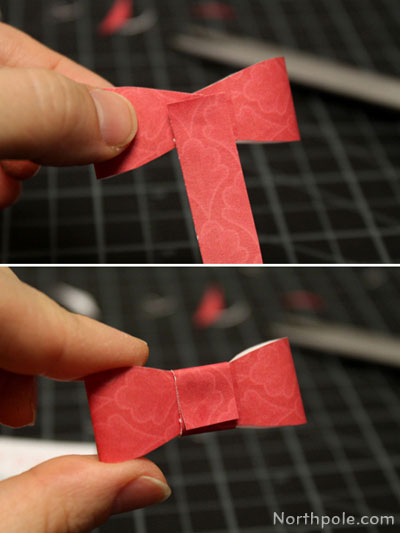
- Cut a strip of red paper that measures about 3/8" x 1". Wrap it around the center of the loop, overlapping the ends, and glue in place.
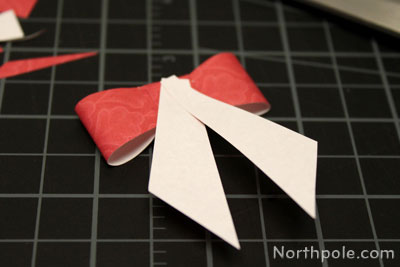
- Cut two strips of paper for the tails of the bow.
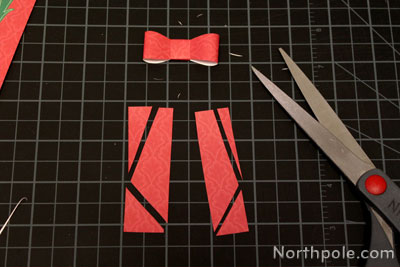
- Glue tails to the back of the bow.
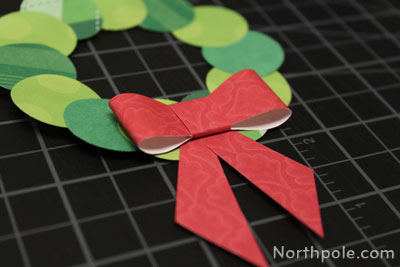
- Glue bow onto the wreath.
- Glue wreath onto the card.
Elfy Hints:
- If your foam stamp is smaller than the card, stamp the card multiple times until the card is covered.
- Typically, a 4" x 6" card would fit in an A4 envelope, but because of the bow, you may want to put this card into a larger envelope like this A6 envelope at envelopes.com.
Idea from the Elves:
- Make a two-tone design. First stamp the card with one color, then after it has dried, stamp with a second color!
