Skill Level:
Crafting Time:
Material(s):
Category:
Share This Craft
Search Crafts
Wintery Forest Card
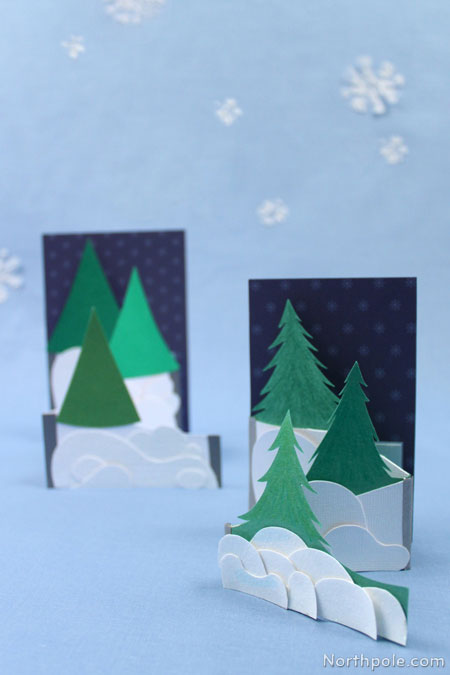
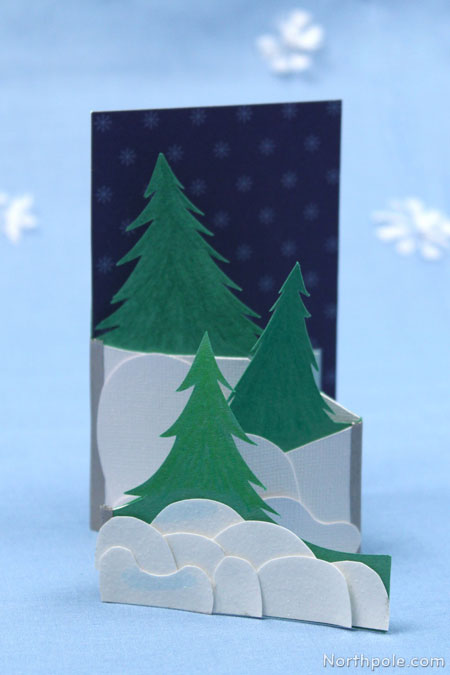
One of our elves felt so inspired by a concertina card in Paper Made! by Kayte Terry that the elf designed this delightful wintery forest card. Concertina cards are often made from oversized sheets of paper, but finding such paper can be tricky, so this tutorial will show you how to make the card from regular-sized paper.
Supplies & Tools:
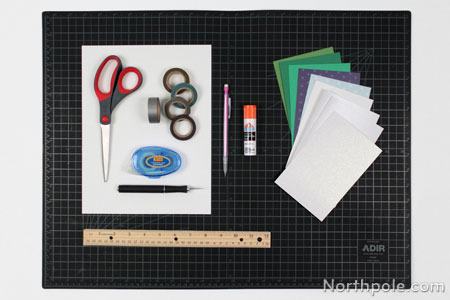
- Printable template (download here)
- Green cardstock, assorted shades
- White pearl cardstock
- White glitter cardstock
- Assorted colors cardstock—any color
- Washi tape
- Glue runner and/or glue stick
- Scissors
- Pencil
- Ruler
- X-Acto
Directions:
- Print the template and cut out the pieces.
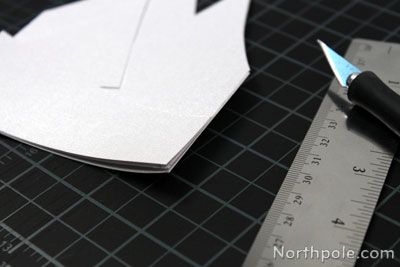
- Trace pieces #1–3 onto white pearl cardstock and then cut out. We prefer to use an X-Acto, but use whatever tools you are most comfortable with.
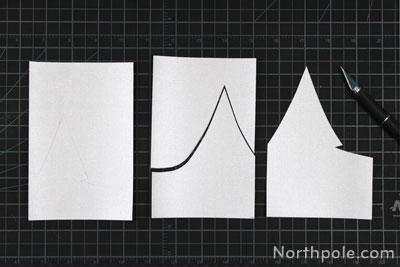
- Line up the bottom and side edges of pieces #1–3. Trim edges with X-Acto and ruler, if necessary. (Our edges were off just a hair.) Set aside.
- Trace tree pieces onto green cardstock and then cut out. We made each tree a different green to add depth. Set aside.
- Using different color cardstock (We used dark blue), measure and cut a piece that is 4" x 6". This will be the back layer of the card.
- Use washi tape to connect the card pieces in this order: piece #1 → piece #2 → piece #3 → back layer. We found it helpful to tape the inside of the fold first and then the outside.

Note: Make sure to tape the paper together so that the pearl side of each piece will be showing once the card is folded. Also, not all washi tape has the same adhesive. If your tape is not very sticky, see the hints below.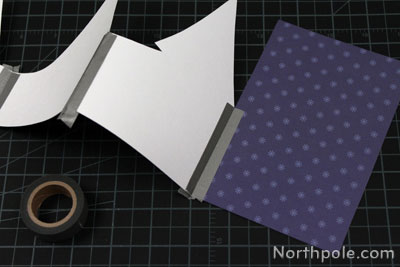
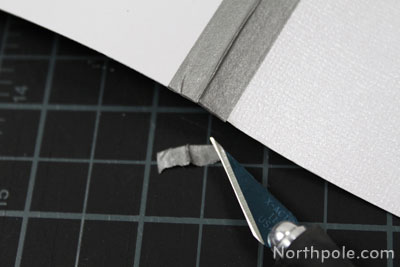
- Trim any excess washi tape with your X-Acto.
- Using glue or glue runner, stick each tree onto its respective card piece.
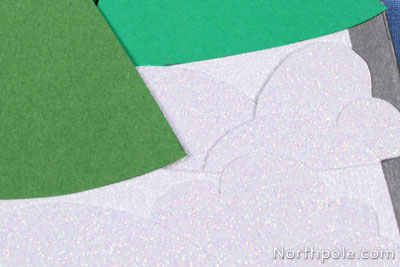
- Cut hills of snow from the sparkly cardstock and glue onto the card panels.
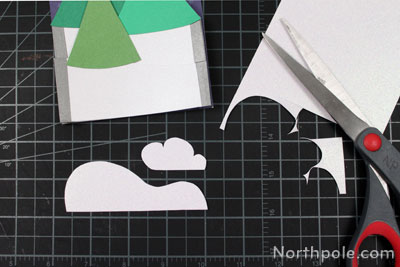
- Layer the pieces of snow however you like. We love the sparkles!! :)
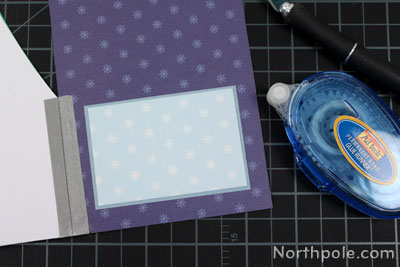
- Cut a small rectangle—about 2" x 3"—and glue on the lower portion of the back panel.
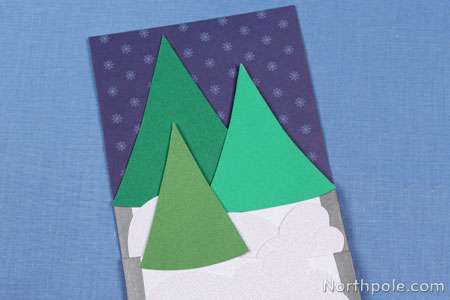
- Hand-write a holiday greeting on the inside and now your card is finished!
Elfy Hints:
- If your washi tape doesn’t stick very well to your paper, use a glue runner to add adhesive to the tape, and then use the washi tape as normal.
- Does your paper have sharp edges or edges that are slightly flared? Use a bone folder to burnish the edges so that they lay flat.
- This card will fit in an A4 envelope, and you can find A4 envelopes like these at envelopes.com.
Idea from the Elves:
- Make the trees look more realistic by cutting branches into the trees with an X-Acto. We recommend cutting the branches after the trees are glued to the card pieces. Or you could use green cardstock as the card pieces and forgo gluing the tree pieces altogether.
