Skill Level:
Crafting Time:
Technique(s):
Material(s):
Category:
Needle Felted Cookie Cutter Ornaments
Tag(s):
Share This Craft
Search Crafts
Needle Felted Cookie Cutter Ornaments
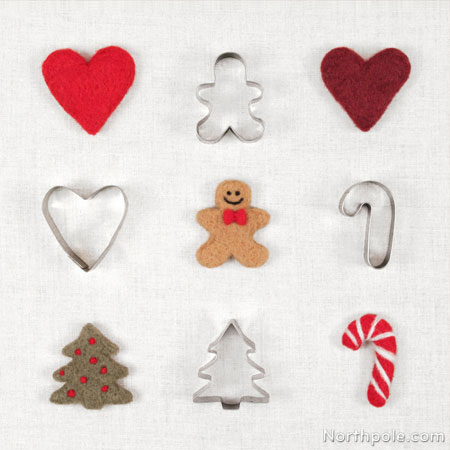
You can make all kinds of projects with wool roving, but if you are new to needle felting, you may want to start with something basic. Easily transform fluffy roving into a perfectly shaped ornament with a cookie cutter in this simple needle felting project for beginners. Once you are comfortable with needle felting, you may want to try your hand at creating little felted figurines.
Supplies & Tools:
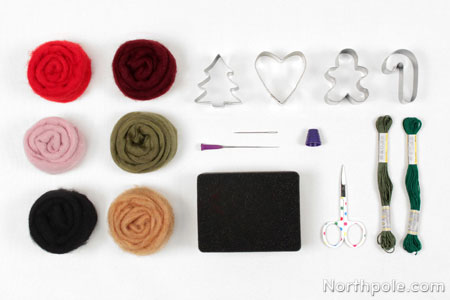
- Wool roving, assorted colors
- Felting needles
- Piece of foam (or needle felting mat)
- Cookie cutters
- Thimble
- Small, sharp scissors
- Embroidery floss
- Long embroidery needle (or doll making needle)
Directions:
- Set foam (or needle felting mat) on work surface. If you’re working on your nice dining table, you may want to protect the table with a cutting mat or cardboard, as you might poke the needle through the foam.
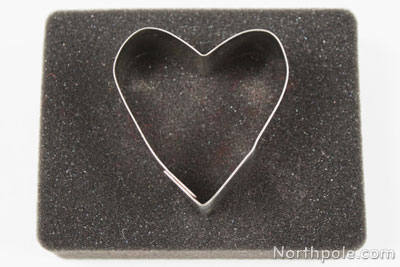
- Place a cookie cutter on the foam.
- Pull a tuft of roving from the skein. There’s no need to cut the roving; simply pull the fibers in the same way that you would pull off a piece of cotton candy.
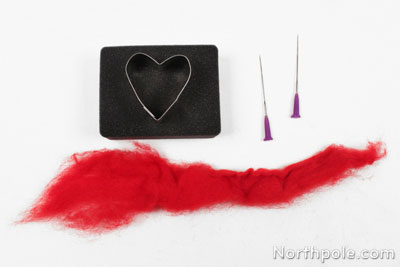
- Place roving into the cookie cutter.
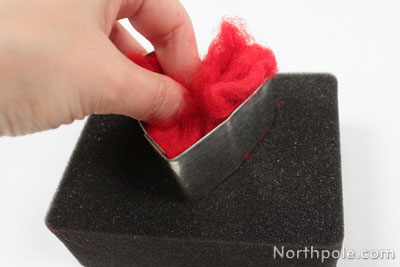
- Using the felting needle, begin poking the roving with a quick, repetitious motion. Poke the needle straight up and down. The roving will “shrink,” decreasing in volume.
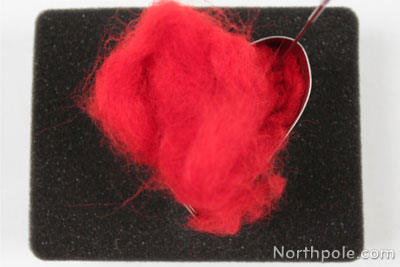
- Continue poking until the roving is dense and matted. Keep your fingers clear of the needle; you don’t want to poke yourself!
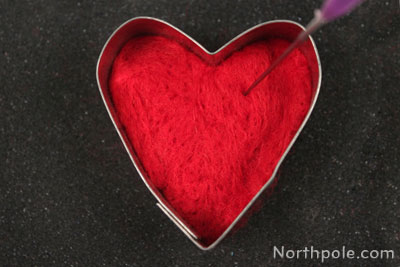
- If some areas of your shape look thin, add a little more roving and needle felt it to the shape.
- Remove the cookie cutter and set aside.
- Gently pull the felt shape from the foam. The sides and back will be fuzzy and may need a little more work to refine the shape.
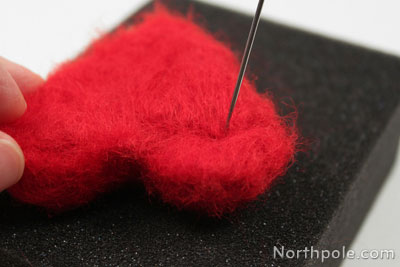
- Very carefully use the needle to create more definition around corners.
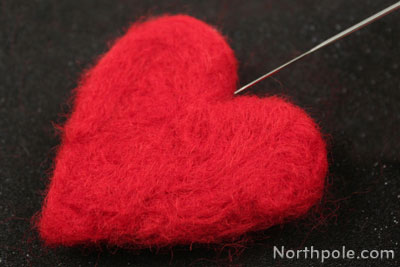
- Optional: Use scissors to trim the stray fibers to make your shape less fuzzy.

- Now that your shape is finished, you’ll add the loop for hanging your ornament. Use scissors to snip a little incision at the bottom of the ornament.
Note: You will be inserting the floss for the loop in this spot, so depending on the shape of your ornament, this spot may not be the very bottom of the ornament.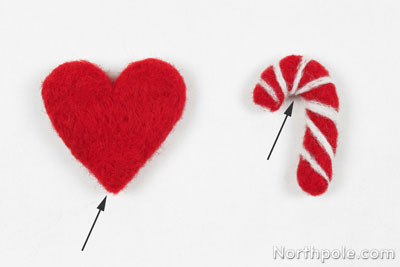
- Cut a piece of floss that is about 14" long and thread it through the needle. You can cut the floss longer or shorter to fit your ornament.
- Starting at the incision, string the floss up through the center of the ornament and then back down. Gently pull on the loop and the tails to make sure the floss moves freely. If your floss is stuck and won’t slide, your floss got crisscrossed inside the ornament. Remove thread and redo this step.

- Tie the ends in a knot and trim the thread below the knot.
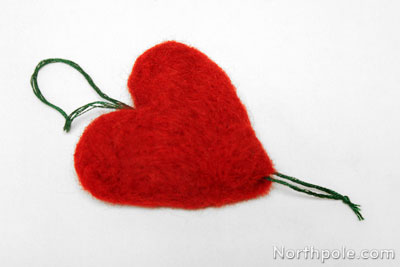
- Pull the loop of floss (on top of the ornament) to slide the knot inside the incision.

- Working over the foam block, use your felting needle to close the incision. If needed, add a bit of roving to patch the area.

- Now your felted ornament is ready to hang!

Ideas from the Elves:
Instead of turning your felted shape into an ornament, you can make several other projects, such as:
- A Christmas brooch: Simply sew the felted shape to a bar pin.
- A festive hair accessory: Attach the felted shape to a barrette or bobby pin.
- Garland: String several shapes together.
- Appliqués: Use less roving to make thinner shapes. Needle felt shapes onto other projects, such as a sweater, scarf, bag, pillow, or blanket. To help bond the appliqué to your project, press it with a steam iron. After ironing, your shape will be very smooth and flat.


