Skill Level:
Crafting Time:
Technique(s):
Die-cutting & Embossing
Hand Sewing
Material(s):
Category:
Tag(s):
Share This Craft
Search Crafts
Felt Pear Gift Tags

Disclosure: This article is sponsored by Sizzix®. They provided us with the Sizzix machine and dies used in this craft. All words and opinions are our own. For our full disclosure, click here.
Want to make a special gift topper for your mom, best friend, or favorite auntie? Personalize this felt pear gift tag with the recipient’s name or monogram to turn this gift tag into a charming keepsake. After they remove the pear from their gift, the recipient can add it to their ornament collection and hang it on their tree year after year.
Are you thinking this sounds like a lot of work? Hardly! We used a Sizzix machine to (quickly!) die-cut the felt into pear-fect pieces of fruit. So all you really need to do is draw a monogram and sew a quick stitch around the edges. What’s more is that the die used in this craft comes with another tag on which you can write a personalized note to accompany the pear.
Supplies & Tools:

- Sizzix® Big Shot Plus Machine & included Cutting Pads*
- Sizzix Bigz Die – Pear & Menu Tags
- Felt: goldenrod, olive green, and apple green
- Embroidery floss: yellow-green, green, brown, white, and a color that coordinates with felt
- Embroidery needle
- Scissors
- Thin jute twine (or button & craft thread)
- Poly-Fil®
- Glitter glue (or paint with a fine tip applicator)
*We used the Big Shot Plus machine, however, you can use the regular Big Shot machine to accomplish this craft.
Directions:
- Cut 2 rectangles of felt slightly larger than the pear shape (about 3" x 4.5").
- Stack the rectangles and place on top of the die, making sure the felt completely covers the pear.
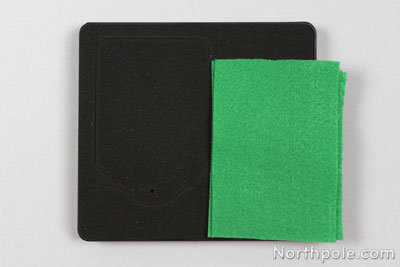
- Place the die/felt between two cutting pads to create a “sandwich.” Run this through the Sizzix machine to die-cut the felt.
- Pick up the two pear shapes and set one aside. Discard the excess felt.
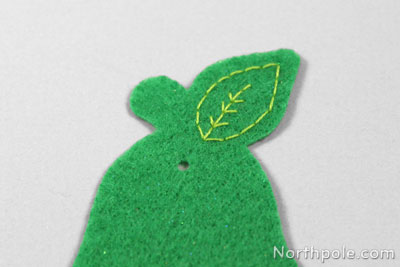
- Cut a length of yellow-green (or green) embroidery floss and separate 1 strand. Using that single strand of green floss, embroider a leaf inside the felt leaf with a backstitch.
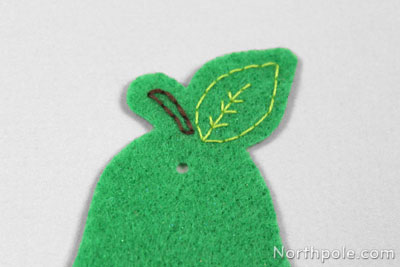
- Cut a length of brown embroidery floss and separate 2 strands. Embroider a stem next to the leaf using a backstitch.
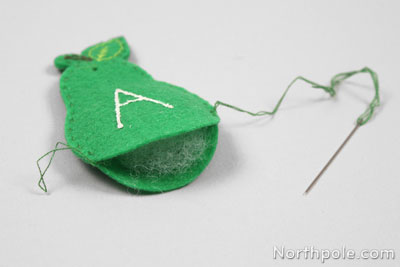
- Draw name or initial on pear with glitter glue or paint. Alternatively, you can embroider the name or initial onto the pear.
Note: We found that Martha Stewart Glass Paint actually works well because it has a fine tip applicator. - After glue/paint is dry, cut a length of embroidery floss that matches the color of your felt pear. Separate 2 strands.
- Stack the two pear shapes together and begin sewing a running stitch around the pear that is about 0.125" from the edge.
Note: We recommend that you start sewing near the bottom of the pear, as it will be easier to add Poly-Fil in the next step. - Once you have sewn about 3/4 around the pear, pause to add a bit of Poly-Fil. You don’t need a lot—just enough to give the pear a little volume.
- Continue sewing and tie off the thread. For our tip on how to do this, see this tutorial.
- Cut a length of jute twine or thread, string it through the hole, and tie the ends together.
- Now your felt pear gift tag is finished and is ready to attach to a gift!

Idea from the Elves:
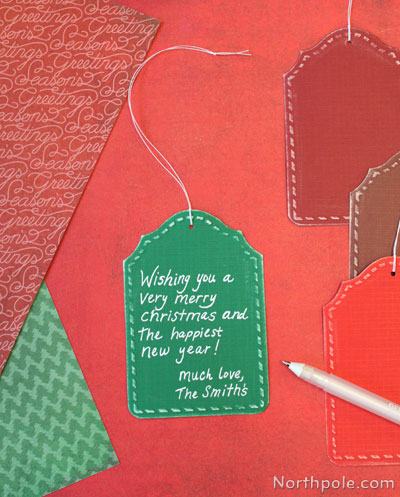
- To add a personalized note to accompany the felt pear gift tag, die-cut a “menu” tag using the same Sizzix die. If you’d like to emboss the edges only (not the “menu” text), place the tag inside the embossing folder as usual, and then burnish the outer edges of the tag instead of running it through the Sizzix machine.